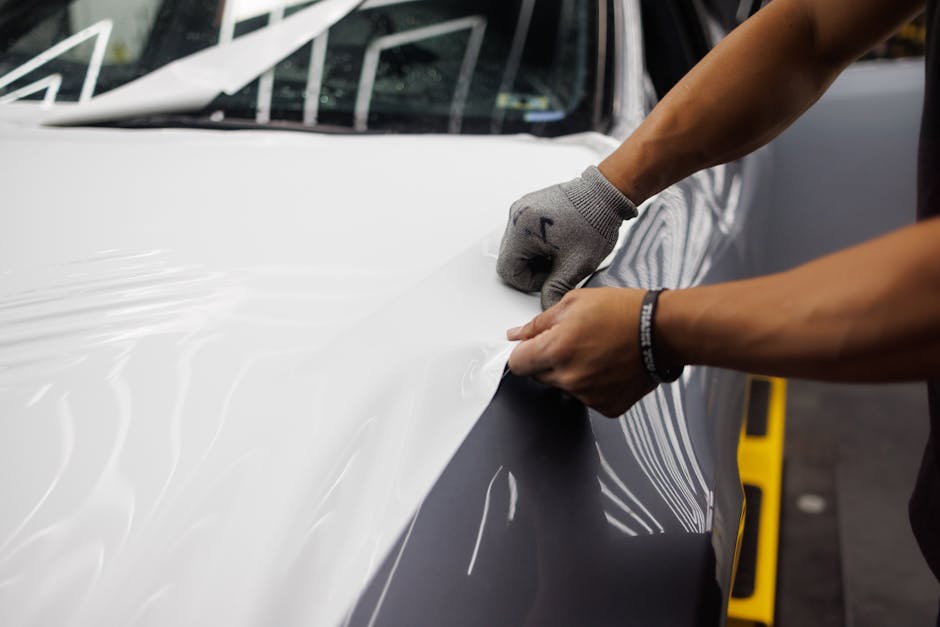
Vehicle wraps are one of the most effective moving billboards you can put on the road. But here's the catch: a poorly designed wrap wastes money and damages your brand. The best vehicle wrap design balances visual impact, readability, and technical precision so your message lands whether someone's standing next to your van or driving past it at 40 mph.
This guide walks you through the professional standards that separate a wrap that works from one that flops.
Related: Professional Lettering Styles for Signs: Complete Guide
Related: Vehicle Wrap Maintenance & Care: Complete Guide
Start With Clear Brand Identity and Message
Before you touch a design template, you need to know exactly what you're communicating. A vehicle wrap isn't a billboard—it's a moving canvas that has maybe 3-5 seconds to grab attention.
Define your core message first. Are you building brand awareness? Driving phone calls? Promoting a specific service? That answer determines everything that comes next: color choices, text copy, logo placement, and visual hierarchy.
Your brand identity—logo, color palette, fonts—should already exist and be locked in. If it doesn't, you're designing a wrap before you've designed your brand. That's backwards. Look through the portfolio of Wholesale Signs & Printing to see examples of how professional brands translate to vehicle wraps, then bring that clarity to your project.
Keep your message simple. One core idea. One call to action (phone number, website, or service name). Anything more than that and you're competing against yourself for attention.
Use Vector Graphics Instead of Photography
This is non-negotiable: vector graphics and illustrations beat photographs on vehicle wraps every single time.
Why? A photo looks flat and loses detail when scaled to wrap size. Plus, the compression required for printing can make photos look muddy or pixelated, especially at distance. Vector graphics—clean lines, solid shapes, illustrations—stay crisp and readable from 100 feet away.
Vector graphics also give you better contrast and visual pop. They work at any size without quality loss. They're easier to modify if you need tweaks mid-project. And they print more consistently across different vinyl materials and conditions.
Work in Adobe Illustrator or a similar vector-based platform. Build your design with scalability in mind from day one. Test your design at thumbnail size (imagine it at 2 inches wide) and at full size. If you can't read the message and understand the visual at both scales, your design needs revision.
Prioritize Readability From Multiple Distances and Angles
Your wrap will be viewed from the side, from behind, from angles, and while moving. Some viewers will be feet away. Others will see it from across a parking lot or driving past on the highway.
This means contrast is your best friend. Dark text on light backgrounds or light text on dark backgrounds. Avoid color combinations that blur together—red on orange, light blue on white, dark blue on black. Test your design colors using a contrast checker tool to ensure it meets accessibility standards and remains readable in different lighting.
Font size matters too. Any text on your wrap should be readable from at least 10-15 feet away. That usually means your smallest text should be no smaller than 14-18 point size, and your headline should be significantly larger. Avoid thin, fancy fonts that look elegant on a business card but disappear on a wrap.
Limit text copy aggressively. Every word you add is a word that competes for attention. Phone number, website, and a short phrase describing what you do. That's usually enough. Most viewers won't read a paragraph while driving past your vehicle.
Account for Vehicle Geometry and Physical Features
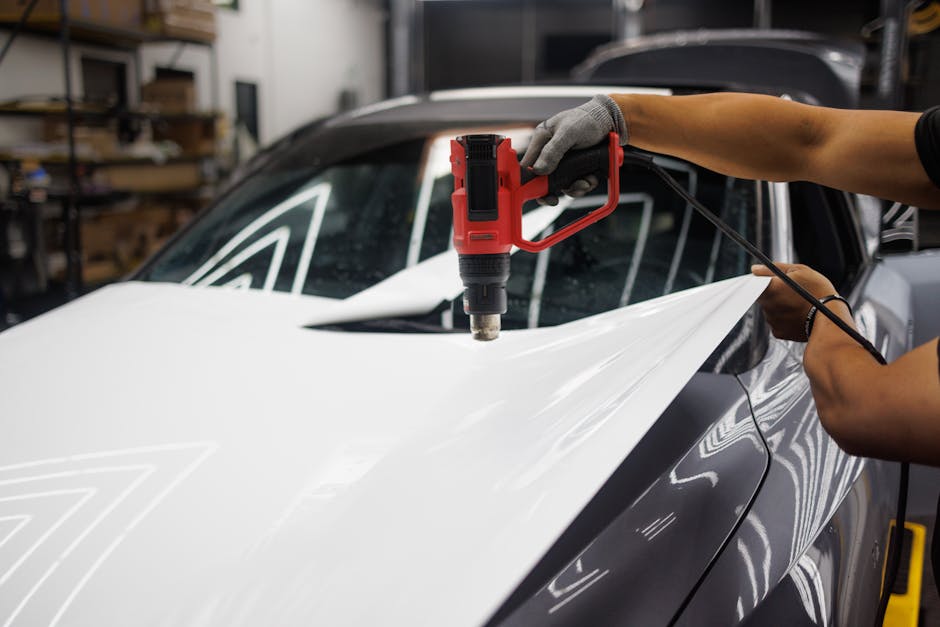
Every vehicle has curves, handles, door seams, mirrors, windows, and creases. Your design has to work around these real-world obstacles, not fight them.
This is where most DIY wrap projects fall apart. A generic template might get you close, but it won't account for the specific geometry of your vehicle. A full wrap on a Ford Transit van is completely different from a wrap on a sedan or pickup truck.
Windows are a big one. Don't design critical information or logo elements that land directly on windows—it gets hidden. Use windows as natural breaks in your design. Door seams, trim lines, and character lines in the vehicle's body should inform where you place visual elements, not fight against them.
Vehicle curves also affect how color and graphics appear. A flat illustration might look slightly distorted when wrapped around a curved surface. Test your design mockup on the actual vehicle shape to see how perspective and curves change the visual impact.
Measure Your Specific Vehicle Twice (Then Once More)
Templates are a starting point, not gospel. Every vehicle has unique dimensions—even two of the same year/make/model can vary slightly based on trim level, mirrors, and factory options.
Measure your specific vehicle before finalizing design files. Document the height and width of each panel you're wrapping. Check for unusual curves or protrusions that your template might not account for. Verify window heights, door handle locations, and any aftermarket additions (roof racks, ladder racks, toolboxes) that affect wrap placement.
Create a detailed spec sheet with measurements and photos. This becomes your design guide and also your quality control check when the finished wrap arrives. If measurements are off by even a few inches, your design won't fit properly, and reprinting is expensive.
Double-check measurements against the actual vehicle, not just a photo. Bring a tape measure. Take time. This step saves thousands in reprinting costs and prevents your wrap from looking cheap or poorly fitted.
Use Professional Design Templates in Vector Format
Once you've chosen your vehicle and taken measurements, work from a vector-based template built to those exact specifications. Adobe Illustrator is the industry standard for wrap design.
The template should show you exactly where panel seams are, where windows and handles sit, and which areas will be visible from which angles. It should be editable, so you can adjust elements without rebuilding from scratch.
Your template also needs to include bleed and safe-zone guidance. Bleed is the area that wraps around edges—usually 0.125 to 0.25 inches—to account for minor installation shifts. Safe zone is the area you know will be visible and shouldn't contain critical design elements that might get hidden or distorted.
Many wrap shops offer template libraries, but each vehicle and each shop has variations. Before you start designing, verify that your template matches your vehicle's exact year, make, and model. If you're working with a professional wrap installer like Wholesale Signs & Printing, they'll provide templates that are calibrated to their equipment and installation process, which saves headaches down the line.
Wholesale Signs & Printing
Get a Free Quote →Plan for the Five-Stage Professional Process
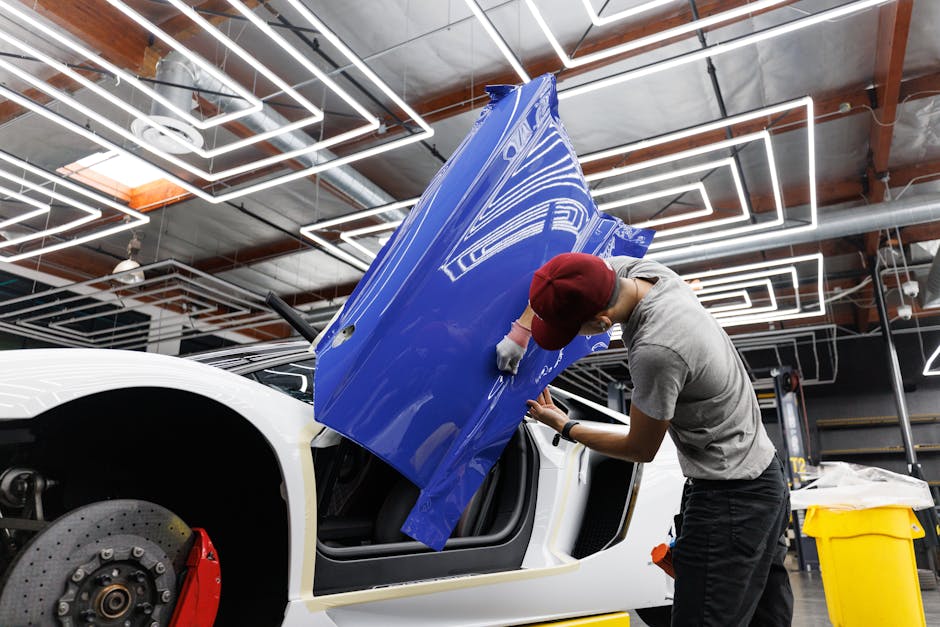
Understanding the workflow helps you design smarter. The professional wrap process goes: Consultation → Design → Print → Lamination → Installation.
Related: Vehicle Wrap Installation Process & Timeline: Full Guide
Related: Lobby Signs Los Angeles CA: Design & Installation Guide
Related: Building Signs Santa Ana CA: Design & Install Guide
Related: Monument Signs in Torrance, CA: Design & Installation Guide
Related: Storefront Signs La Habra CA: Design & Installation Guide
Consultation is where you nail down your vehicle, message, timeline, and budget. This is when measurements happen and templates are selected.
Related: Vehicle Wraps Long Beach CA: Design & Installation Guide
Design takes your brief and creates the visual. This is where you apply all the best practices above—vector graphics, readability, brand alignment, geometry awareness.
Print converts your design file to vinyl. This is where color accuracy and file quality matter. Any mistakes in your design file become very real when printed on a 50-foot roll of vinyl.
Lamination adds a protective clear coat over the printed vinyl. This protects your wrap from UV damage, weather, and minor abrasions. The laminate also affects gloss or matte appearance.
Installation is the final step. Professional installers use heat and pressure to conform the vinyl to your vehicle's curves and contours. Poor installation can ruin a great design, so use experienced installers who understand vehicle geometry as well as you now do.
Understanding this process means you know where your design decisions matter most and where professional expertise saves money. A rushed design might sail through consultations but fail in the print stage. Good design planning prevents rework and delays across all five stages.
Design Mockups and Approval Workflows
Before anything gets printed, you need to see your design on your specific vehicle. This is why mockups exist.
A good mockup shows your design wrapped onto a photo of your actual vehicle—front, side, and rear angles. It should account for lighting, perspective, and real-world conditions. A mockup that looks perfect under studio lights might look different in daylight or under cloudy skies.
Review mockups with fresh eyes, ideally a day or two after they're created. Look at them on multiple devices—your phone, tablet, and desktop. Ask a colleague or friend to look at them too. A design that makes perfect sense to you might confuse someone encountering your business for the first time.
Check readability at distance. If the mockup is displayed on your phone, hold it at arm's length and squint. Can you still read the key message? Does the color contrast hold up?
Get written approval before the print job starts. Once ink hits vinyl, changes are expensive. Make sure everyone involved—you, your designer, your installer—agrees on what's about to be produced.
Common Vehicle Wrap Design Mistakes to Avoid
Too much text. Cluttered layouts. Using photos instead of graphics. Poor color contrast. Ignoring vehicle curves. Designing a wrap without consulting your actual vehicle. These are the biggest killers.
Another common mistake: designing in RGB color mode instead of CMYK. RGB works on screens; CMYK is what printers use. Colors shift when converted, sometimes dramatically. Always design and prepare files in CMYK to match what will actually print.
Forgetting about maintenance is another one. Your wrap design should account for where you'll clean it, where dirt accumulates, and which areas get sun exposure. Some design choices hold up better to weathering than others. Solid, high-contrast colors age better than gradients or complex patterns.
Finally, rushing the design process. Wrap design looks simple because the best designs are clean and minimal. But that simplicity takes time. Invest in the design phase. It's where you make decisions that affect the next 3-5 years of brand visibility on every trip your vehicle takes.
Getting Professional Help With Your Wrap Design
If design isn't your strength, partnering with a professional makes sense. A designer familiar with vehicle wraps will know all these constraints instinctively and won't waste time on approaches that don't work.
Look for designers or shops that provide templates, handle measurements, manage the full workflow, and take responsibility for quality. The best partners ask questions during consultation—about your brand, your message, your vehicle usage, your timeline—before touching a design file.
Wholesale Signs & Printing partners with businesses on exactly these kinds of projects. They handle consultation, design, print, lamination, and installation as one coordinated process, which means your design gets built with the entire workflow in mind from the start.
People Also Ask
How do I prepare my design file for wrap printing?
Export your final design as a CMYK PDF or high-resolution TIFF file. Include bleeds (usually 0.25 inches beyond the cut line) so the design extends past where the vinyl will be cut. Include crop marks so the printer knows exactly where to cut. Use a print-ready checklist from your printer to confirm file specs, resolution (300 DPI minimum), and color mode before you submit.
What's the difference between a full wrap and a partial wrap?
A full wrap covers the entire vehicle—hood, sides, rear, and sometimes roof. It's maximum visibility but also maximum cost and complexity. A partial wrap covers selected panels, usually the sides and rear. It's more affordable and still highly visible. Design principles stay the same; you just have fewer surfaces to work with on a partial wrap.
How long does a vehicle wrap last?
Quality vinyl wraps with professional installation typically last 5-7 years in normal conditions. Durability depends on sun exposure, climate, how often you wash the vehicle, and the quality of the vinyl and laminate you choose. Higher-grade vinyl lasts longer than budget vinyl. Matte finishes age differently than gloss.
Can I design a wrap myself or should I hire a professional?
You can design one yourself if you have vector design skills and understand vehicle geometry. But it's easy to make costly mistakes—wrong measurements, poor color choices, readability issues, or file format problems. Most businesses benefit from professional design review at minimum, even if you do the initial concept work. The cost of professional design is usually far less than reprinting a wrap that doesn't work.
Wholesale Signs & Printing
Get a Free Quote →